Wondering how to make your Woodstock home stand out and sell with confidence? You are not alone. Many Cherokee County sellers want a faster sale and stronger offers but are unsure where to start. In this guide, you will learn a design-forward staging plan tailored to Woodstock buyers, a practical 3–12 month timeline, budget paths, a room-by-room checklist, and a photo strategy that elevates your listing. Let’s dive in.
Why design-forward staging works in Woodstock
Woodstock attracts a diverse mix of buyers, including commuters to Atlanta, families who value nearby schools, and downsizers who love walkable amenities near downtown. These buyers care about function, comfort, and a lifestyle that fits their routines. Your staging should reflect those priorities.
Design-forward staging focuses on presentation that photographs beautifully and shows buyers how each space works. You are not just placing furniture. You are creating a story that highlights your home’s scale, light, and flow.
- Edit ruthlessly. Fewer, well-chosen pieces make rooms feel larger and cleaner in photos.
- Keep a neutral, cohesive palette. Warm neutrals with subtle textures and a few curated accents read well on camera.
- Reinforce focal points. Frame the fireplace, kitchen island, or primary bed as the star of the room.
- Mind scale and space. Use right-sized furniture and leave breathing room so sightlines feel open.
- Layer lighting. Maximize natural light and add warm bulbs for consistency. Mirrors can amplify light.
- Show function. Define a home office, flex room, or breakfast nook to match what buyers want today.
Plan by season and timeline
Buyer activity often rises in spring and early summer in suburban Atlanta. If you plan to list in the next year, use this timeline to pace your prep and hit the market photo-ready.
6–12 months out: plan and repair
- Define your likely buyer profile with your agent and review recent local sales and days on market.
- Consider a pre-listing inspection if larger repairs are on your radar. Tackle structural or mechanical work early.
- Plan cosmetic updates that take time, like cabinet refacing, lighting changes, or hardware swaps.
- Select a staging partner or stylist and confirm a written scope and schedule.
3–6 months out: edit and refresh
- Declutter and depersonalize. Clear surfaces, store extra décor, and remove most personal photos.
- Paint high-traffic areas in soft neutral tones. Repair trim, grout, and any visible wear.
- Improve curb presence with lawn care, mulch, pruning, and power washing.
- Source rental pieces if your home is vacant or over-furnished.
2–4 weeks out: style and shoot
- Deep clean, including carpets and floors. Aim for a hotel-level finish.
- Install final staging furniture, décor, and lighting per the plan.
- Schedule professional photography to capture optimal daylight. Consider twilight for exteriors.
- Create marketing assets like a photo set, floor plan, and a virtual or 3D tour to boost engagement.
Week of listing: stay show-ready
- Use a quick checklist for showings. Beds made, dishes cleared, pet areas tidy, lights on for evening showings.
- Keep counters and vanities clear, and stash small items in baskets.
Choose your staging path and budget
Every home needs a different level of support. Treat staging as a core part of your marketing investment.
- Staging consultation. A stylist provides a plan and shopping list for a lighter-cost, DIY-friendly option.
- Partial staging. Focus on high-impact rooms like the living room, kitchen, primary bedroom, and exterior areas.
- Full-service staging. Ideal for vacant homes or when you need a cohesive, design-first look throughout.
- Virtual staging. Digitally furnishes photos. It can be cost-effective, but it does not help in-person showings and must be disclosed per MLS rules.
Industry sources regularly note that staging improves buyer perception and can speed sales. The exact impact varies by price point and condition, so use local comps and your agent’s guidance to estimate potential ROI. If the home is renter-occupied, consider minimal physical staging or virtual staging with clear disclosure.
Room-by-room staging checklist
Curb appeal and approach
- Mow and edge the lawn, refresh mulch, and prune shrubs for a neat, cared-for look.
- Power wash siding and the driveway. Clean the front door and hardware.
- Ensure the house number is easy to see. Add porch lighting and a simple seating vignette if space allows.
Entry and foyer
- Style a minimal console with a single focal accessory and a mirror to amplify light.
- Keep shoes and jackets out of sight to preserve open sightlines to the main living area.
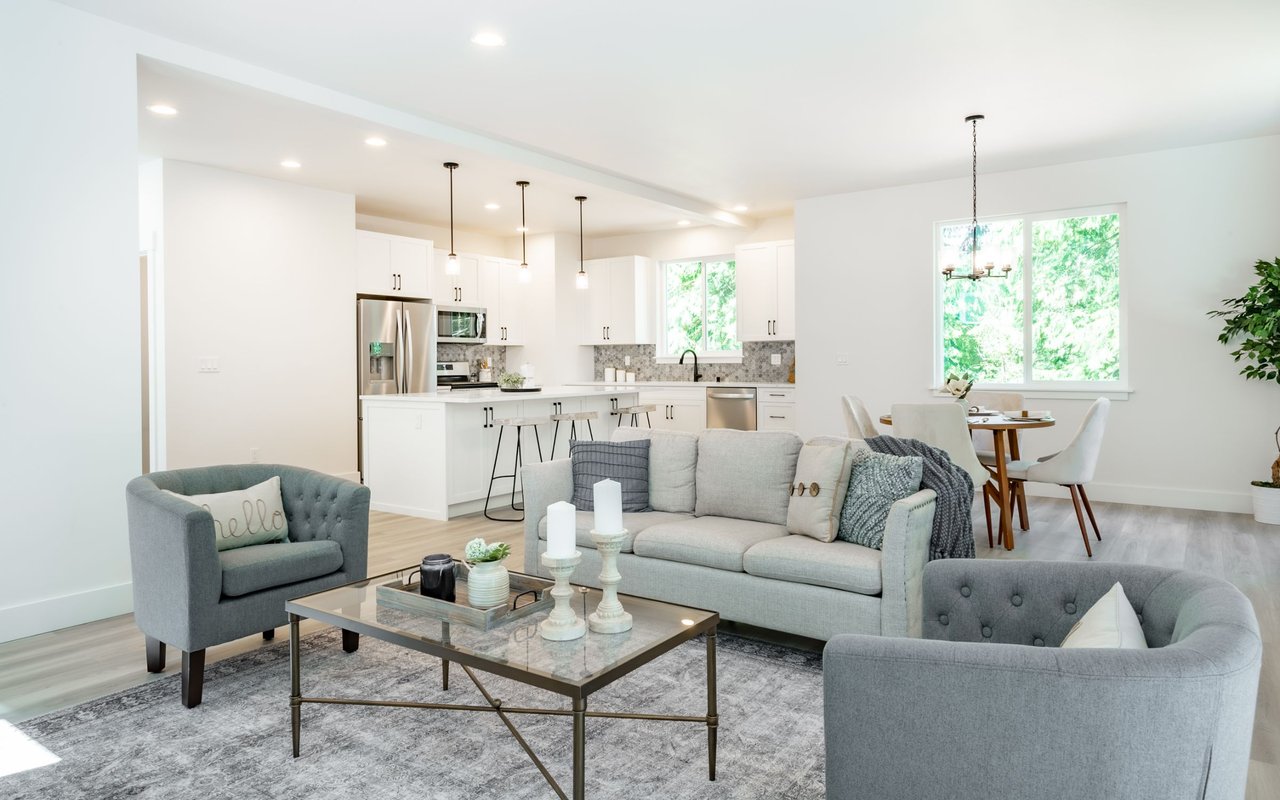
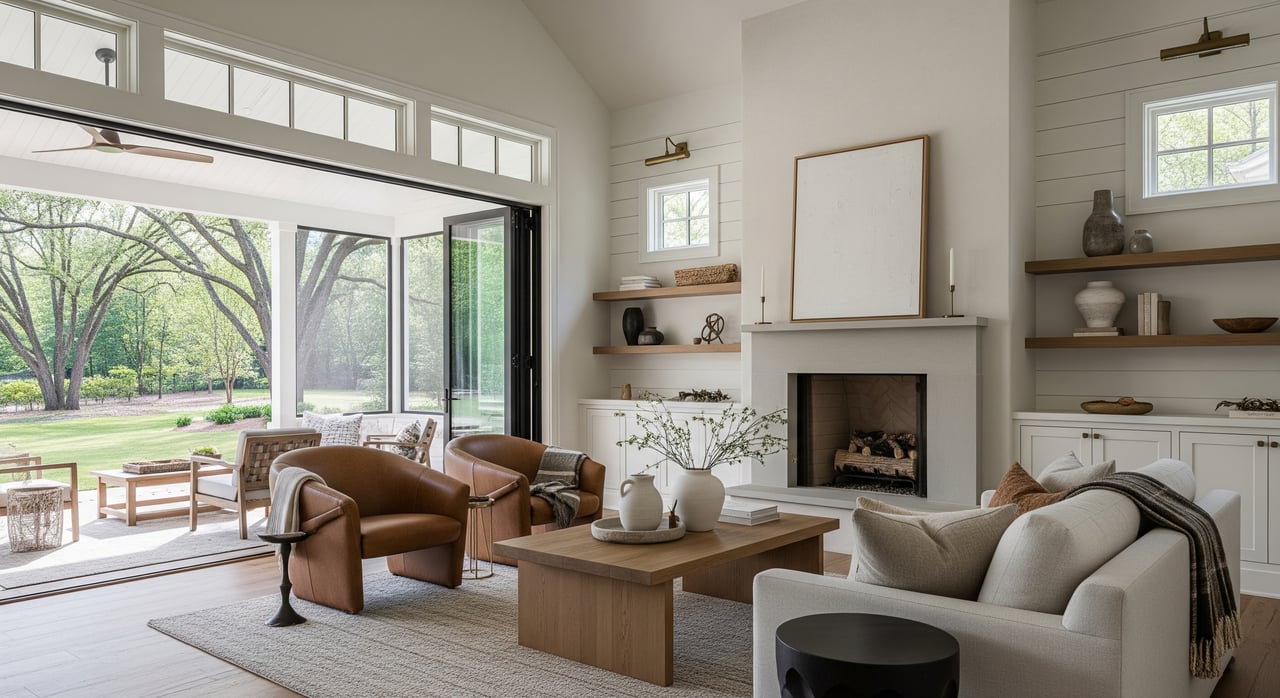
Living room or great room
- Remove extra chairs and side tables to reveal traffic flow.
- Anchor the seating with one large rug so front legs of major pieces sit on it.
- Layer ambient, task, and accent lighting. Add one oversized art piece or a curated grouping above the sofa.
Kitchen and dining
- Clear counters so prep space reads large. Style with a single vase, a fruit bowl, or a wooden board.
- Update dated hardware or fixtures if budget allows. Keep stainless and surfaces spotless.
- If a dining area is visible, set one simple place setting and a low centerpiece.
Primary bedroom
- Aim for a hotel-like bed with layered bedding, a quilt, and a folded throw.
- Use two coordinated bedside lamps and minimal nightstand décor.
- Store off-season clothing so closets look spacious and functional.
Secondary bedrooms and flex rooms
- Define a purpose that matches your likely buyer. Stage a bedroom, office, or nursery as appropriate.
- For an office, keep a streamlined desk, good lighting, and minimal accessories.
Bathrooms
- Clear counters and replace worn towels with new neutral ones.
- Clean grout, update hardware if needed, and add a small plant or neatly folded towel stack for photos.
Outdoor living
- Stage a deck or patio as an outdoor room with a bistro set or lounge grouping.
- Add an outdoor rug and simple string lights if appropriate for evening photos.
- Highlight usable space for play areas or garden beds to show functional square footage.
Garage and storage
- Remove excess items and organize essentials so the storage potential is obvious.
- Sweep floors and show clear wall or ceiling storage options.
Photograph like a magazine
Your photos should feel cohesive, bright, and lifestyle-driven. Plan your shoot to show flow, scale, and the most appealing moments of your home.
- Pre-photo prep. Hide personal items and pet gear, clear counters and windowsills, and turn on all interior lights with warm bulbs. Open blinds to maximize natural light.
- Shot list. Capture the exterior front in daylight and, if appropriate, at twilight. Photograph main living spaces from multiple angles to show flow, plus detail shots of finishes, built-ins, and the fireplace. Include the kitchen, primary suite, bathrooms, outdoor living, and any specialty rooms.
- Add-ons that matter. A floor plan and a virtual or 3D tour can increase buyer engagement and help out-of-area shoppers.
- Direction for your photographer. Request HDR with balanced exposure and color-accurate editing that honors your staged palette. Ask for a few close-up vignettes for social media and the listing.
Tailor to Woodstock buyer personas
Design choices should reflect who is most likely to buy your home. Segment your audience, then stage for them.
- Young families. Emphasize storage, clear play zones, a flexible bedroom or office, and outdoor areas that feel functional. Keep décor durable and simple.
- Dual-career commuters. Show a streamlined home office and low-maintenance yard. Highlight quiet corners and spaces that support work-from-home.
- Downsizers and empty nesters. Create a calm, hotel-like primary suite and easy-flow living. Keep furnishings scaled for comfort and mobility.
Show-ready checklist for listing week
- Beds made with fresh layers and smooth pillows.
- Kitchen and bath counters cleared, towels folded, and trash removed.
- Floors vacuumed or swept, and entry mats shaken out.
- Lights on, blinds open, thermostat set to a comfortable temperature.
- Pet areas cleaned and pet items stored out of sight.
How your agent elevates the process
A strong local agent helps you make smart, market-specific choices and execute a polished presentation from day one. With a design-first approach, you get clear direction on what to edit, what to upgrade, and how to time your launch. You also benefit from coordinated photography, floor plans, virtual tours, and curated open houses that draw serious buyers.
If you are planning to list in Woodstock or greater Cherokee County, a thoughtful staging plan can shorten time on market and improve the quality of offers. To align your staging, photography, and launch timing with current local trends, connect with the Hollingsworth Company for a tailored plan and instant valuation.
FAQs
What is design-forward home staging for Woodstock sellers?
- It is a presentation-first approach that curates furniture, lighting, and décor to photograph beautifully, highlight function, and tell a lifestyle story buyers connect with.
When should I start staging if I plan to list in 3–12 months?
- Begin planning and repairs 6–12 months out, do cosmetic edits at 3–6 months, finalize styling 2–4 weeks before photos, and maintain show-ready habits during the listing week.
Is full staging necessary in Cherokee County?
- Not always; focus on high-impact rooms if you are occupied, but vacant homes typically benefit most from full staging to avoid cold, scale-confusing photos.
How does virtual staging compare to physical staging in Georgia MLS?
- Virtual staging can enhance photos at a lower cost but must be clearly disclosed per MLS rules and does not improve in-person showings like physical staging does.
How should I think about staging budget in Woodstock?
- Use a tiered plan: consult plus DIY for a small budget, partial staging and pro photos for mid-range, or full-service staging with premium visuals for maximum impact.
What if my home is heavily furnished or tenant-occupied?
- Edit by removing 30–50 percent of items to create space, bring in right-scaled pieces if needed, and coordinate minimal or virtual staging when access is limited.